
Blog
Oil Painting: Cleaning and Removing Centuries of Dust

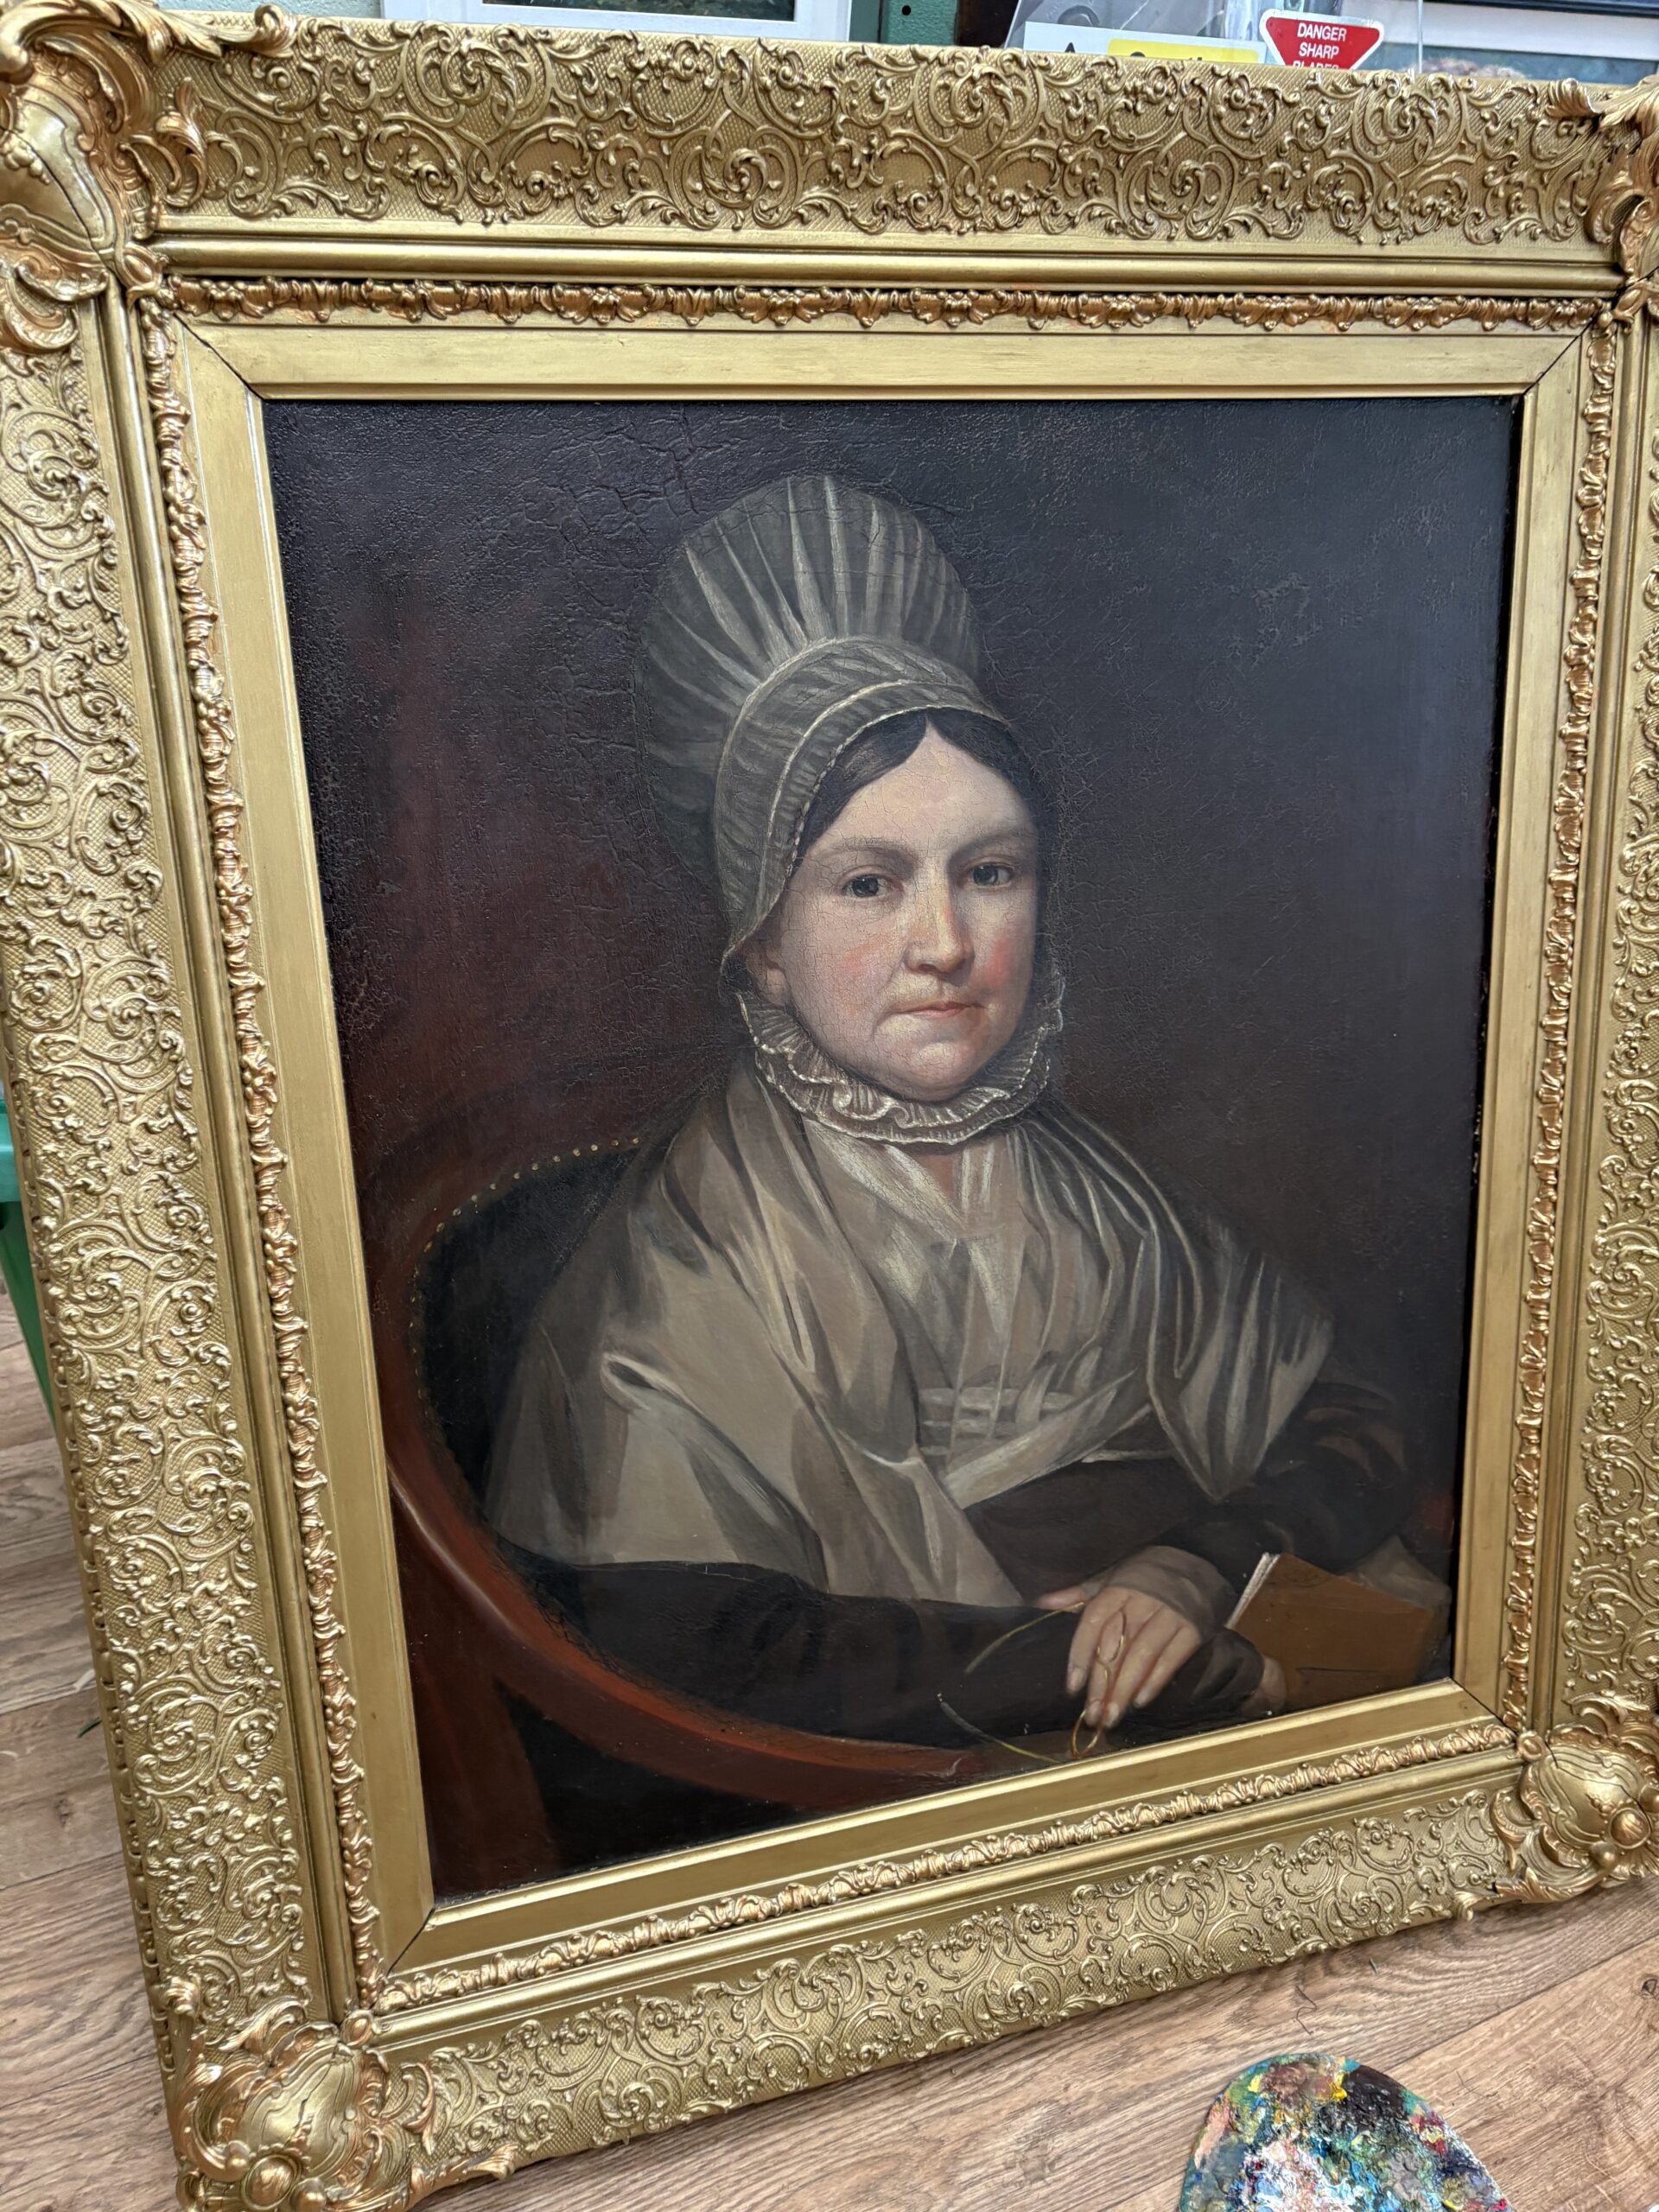
Before I touch anything, I spend time simply looking, under natural light, and sometimes I use UV light. I study the surface conditions for cracks (craquelure), discoloration, previous restorations, and areas of weakness. Old varnish tends to yellow or brown over time, dulling the original colors and flattening depth. But not all discoloration is varnish, sometimes it’s the paint itself aging, so identifying what’s what is critical.
The first physical step is the gentlest: surface cleaning. This is about removing loose dirt, soot, and grime that have settled over decades or centuries.
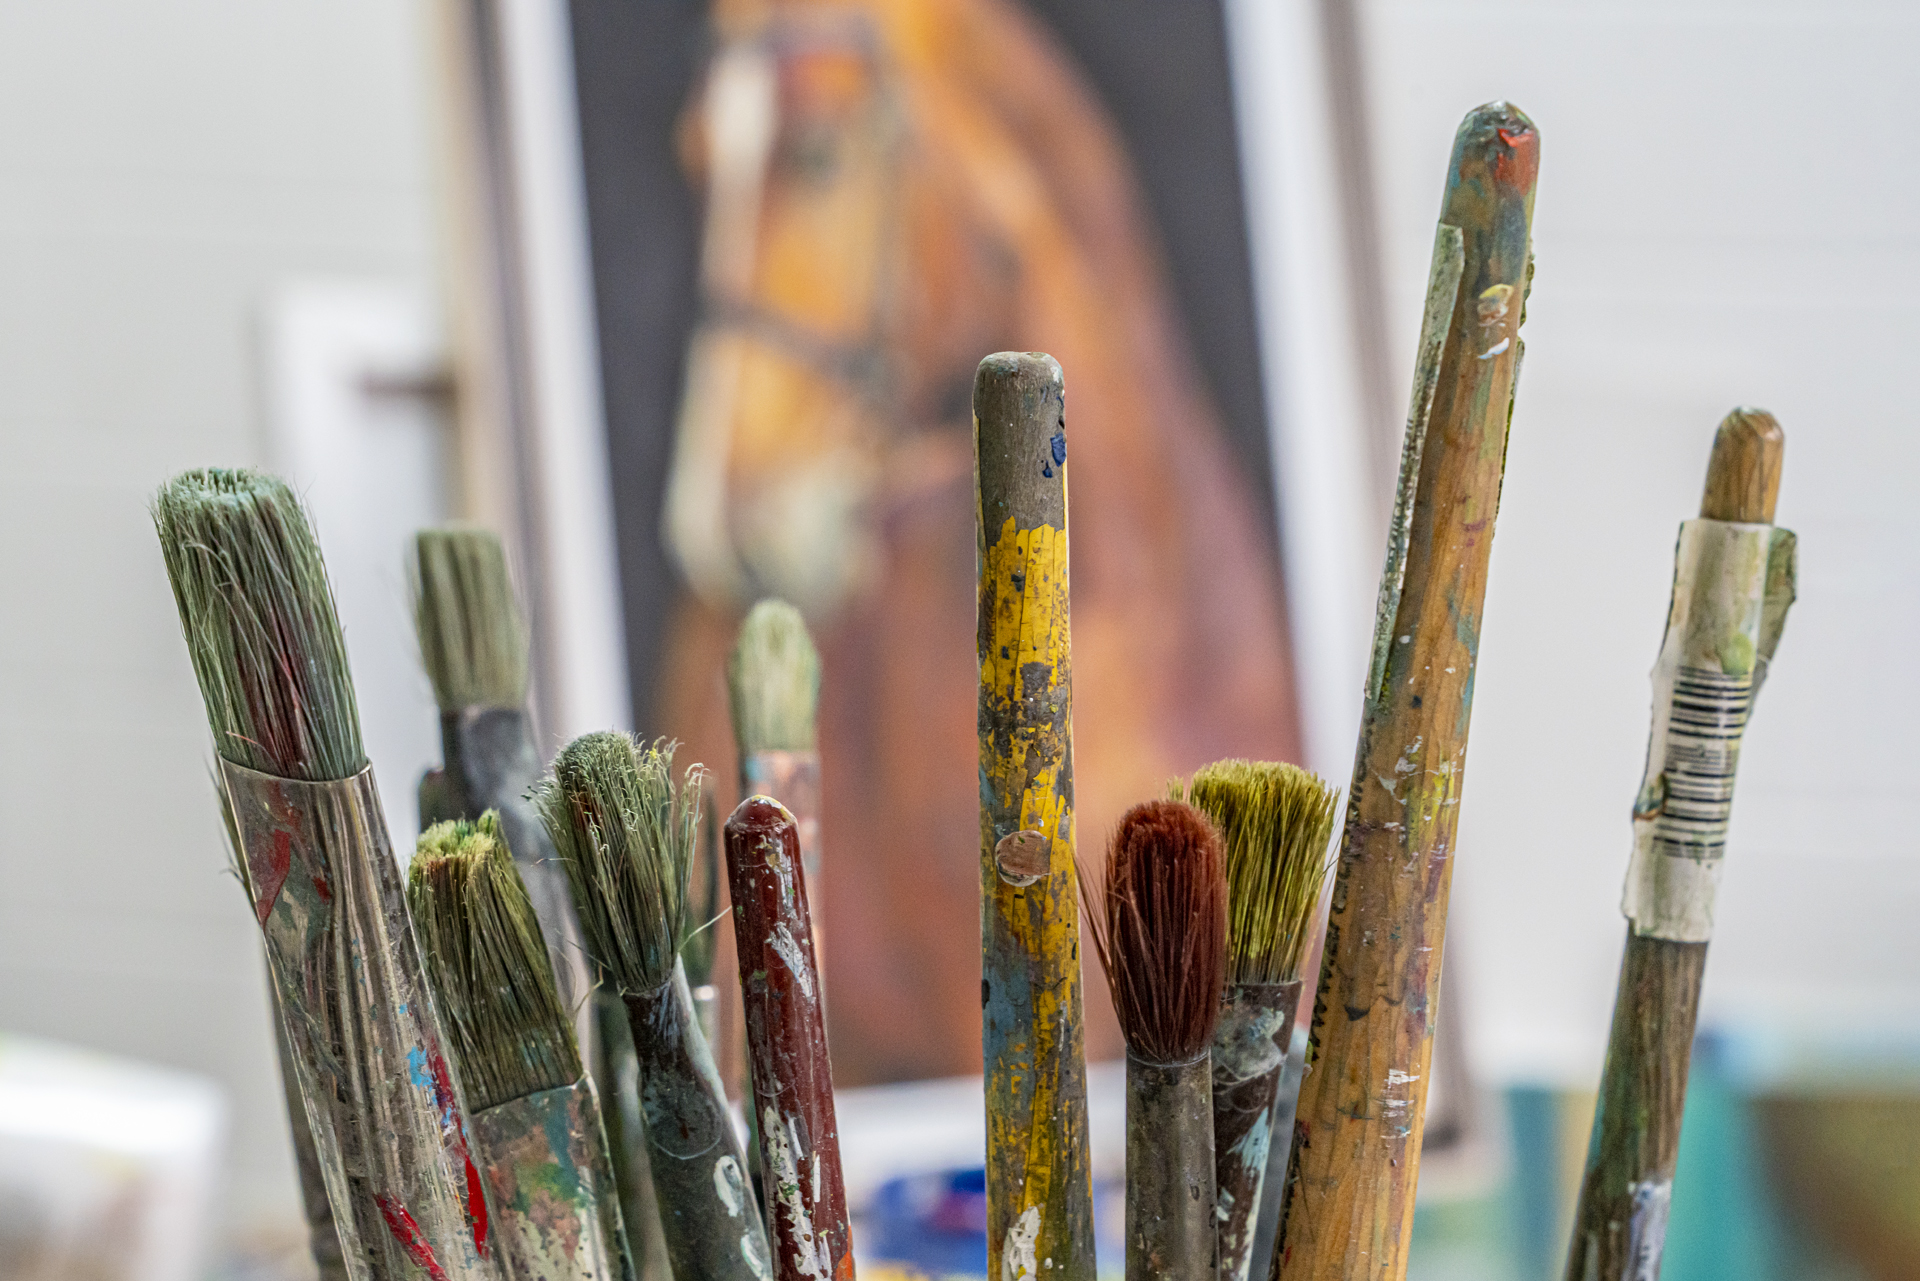
Using soft brushes, I lightly lift away surface debris. At this stage, I avoid moisture or solvents entirely. It’s a slow process, but even this initial cleaning can reveal surprising brightness underneath years of accumulated dirt.
Using cotton swabs lightly dampened with the chosen solvent, I roll gently across the surface. You can often see the transformation instantly: a dull brown haze lifts, revealing vibrant blues, rich reds, and luminous skin tones that haven’t been seen in generations.
But this step requires patience. Removing too much, too quickly, or using the wrong solvent can irreversibly damage the painting. So I work in tiny sections, constantly checking the surface.
One of the most important principles I follow is restraint. The goal is not to make the painting look “new,” but to bring it back to a stable, legible state that respects the artist’s original intent.